When you suspect your roof is damaged after a storm, your first impulse might be to grab a ladder. Please don’t. Your safety is the top priority, and climbing onto a potentially unstable, wet roof is incredibly risky. The good news is that you can spot many warning signs with both feet safely on the ground. This guide will show you exactly what to look for from the ground and inside your home. We’ll also explain why a professional inspection is so critical for uncovering hidden issues and how to confidently take the next steps toward a quality residential storm damage roof repair.
Key Takeaways
- Document everything from a safe distance: After a storm, your first step is to walk your property and check inside for signs of damage. Photograph any missing shingles, dented flashing, or interior water stains to create a clear record for your insurance claim.
- Rely on a professional for assessment and claims: A qualified local roofer is your most important partner. They can identify hidden damage, provide the detailed report your insurer needs, and help you manage the claims process to ensure a fair outcome.
- Be proactive, not reactive, with your roof: The best way to handle storm damage is to prevent it. Regular maintenance and choosing durable materials strengthen your roof, while finding a trusted contractor before a storm hits ensures you have an expert ready to help immediately.
What Does Storm Damage Look Like on a Roof?
After a big storm rolls through, your first thought might be to peek outside and see if any trees are down. But the real story of the storm’s impact is often sitting right above your head. Storm damage to a roof isn’t always as dramatic as a gaping hole. It can be subtle, sneaky, and easy to miss if you don’t know what you’re looking for. Understanding the different ways wind, hail, rain, and debris can affect your roof is the first step to protecting your home. Let’s walk through the common signs so you can spot potential trouble right away.
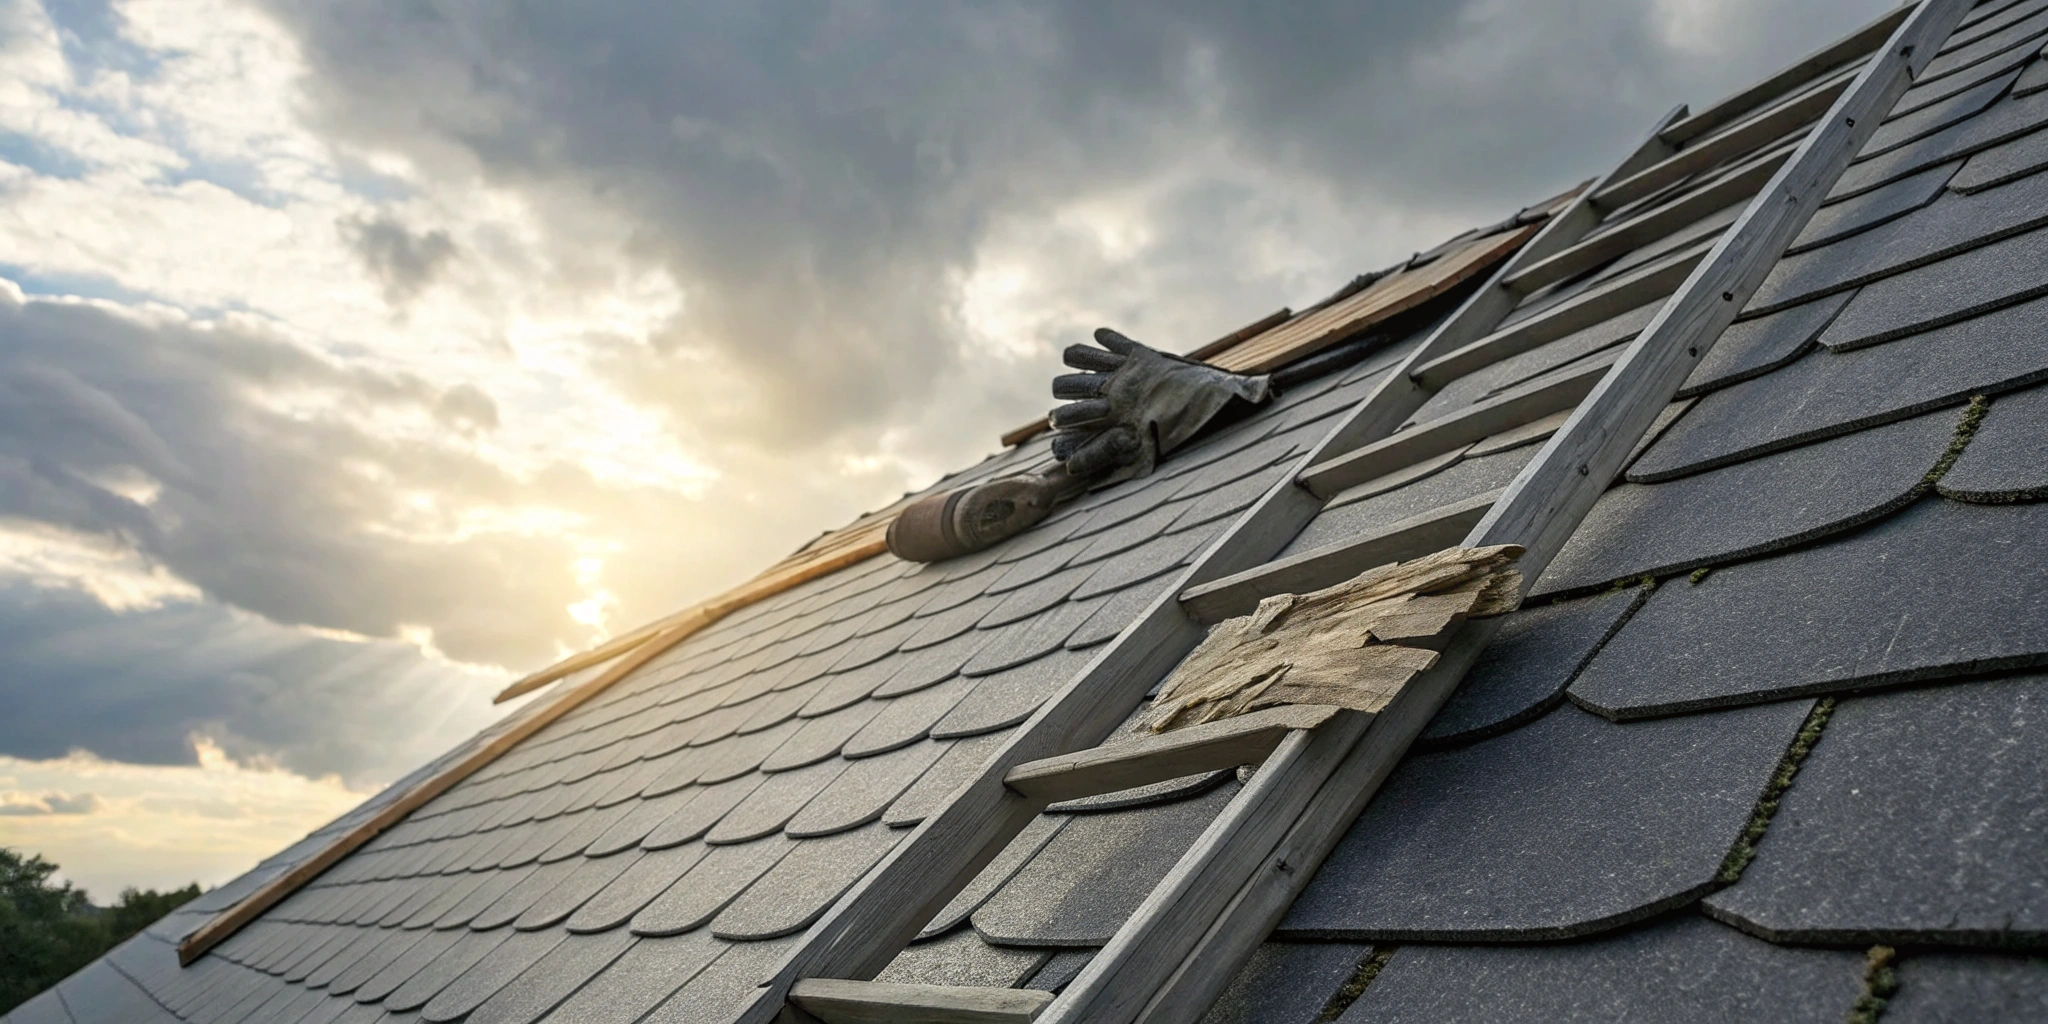
Wind Damage: Missing and Lifted Shingles
Florida’s high winds can be relentless, and your roof takes the brunt of it. When gusts get strong enough, they can get underneath the edge of your shingles and lift them up. This can cause the shingles to crease, tear, or fly off completely, leaving patches of your roof exposed. You should also check the metal flashing around your chimney, vents, and skylights, as strong winds can loosen it. Even one missing shingle can break the watertight seal of your roof, creating a pathway for rain to get in. A professional inspection is the best way to assess your residential roofing system after a windstorm.
Hail Damage: Dents and Granule Loss
Hail can be surprisingly destructive, even when the stones are small. For asphalt shingles, hail damage often looks like dark, circular bruises where the storm has knocked off the protective granules. You might see these granules collecting in your gutters or on your driveway. Without this top layer, your shingles are exposed to UV rays, which can cause them to deteriorate much faster. On metal roofing components like flashing or vents, hail leaves behind obvious dents. Because this type of damage can be hard to spot from the ground, it’s a good idea to schedule a professional hail damage inspection to get a clear picture of your roof’s condition.
Water Damage: Leaks and Interior Stains
The most obvious sign of water damage is a leak, but the problem often starts long before you see drips. After a storm, check your ceilings and walls for any new water stains, which can look like yellowish or brownish rings. Peeling paint near the ceiling is another red flag. If you can safely access your attic, look for damp insulation or a musty smell, as these are clear indicators that water is getting in. Heavy rain can find its way into tiny cracks or under lifted shingles, leading to rot and mold. If you spot any of these signs, it’s time to call for emergency roof repair to prevent further damage.
Debris Damage: Punctures and Scrapes
Storms often bring down tree limbs and send other debris flying through the air. A large branch falling on your roof can cause obvious structural damage, but smaller impacts can be just as problematic. Look for scrapes, cracks, or punctures in your shingles or other roofing materials. This kind of direct impact can easily compromise your roof’s waterproof barrier, creating an immediate entry point for water. Documenting any debris you find on or around your property is a smart move, as it can support your insurance claim. Getting expert roof claim assistance can help you manage the process and ensure all damage is accounted for.
How to Spot Roof Damage After a Storm
After a big storm rolls through, it’s natural to worry about your roof. Taking a few minutes to assess the situation is a smart first move, but your safety should always come first. Never climb onto a wet or potentially unstable roof. The good news is you can spot many of the most common signs of damage with your feet planted safely on the ground. A thorough walk-around of your property can reveal missing shingles, dented gutters, and other obvious issues.
Don’t forget to check inside your home, too. Sometimes the most serious problems, like leaks, only show up as a small water stain on your ceiling or a musty smell in the attic. This initial check helps you gather information and decide if it’s time to call in a professional. Even if the damage looks minor, hidden issues can lead to bigger, more expensive problems down the road. Acting quickly and getting a professional opinion is the best way to protect your home and get your residential roofing back in top shape.
Inspect Your Roof Safely From the Ground
Start by walking around your house and looking up at your roof from different angles. Look for any shingles that are missing, cracked, curled, or bent. High winds can easily lift and tear them away, leaving your roof’s underlayer exposed. Next, check your gutters and downspouts for an accumulation of shingle granules—those little sandpaper-like specks. Significant granule loss can indicate that your shingles have been damaged by hail or are nearing the end of their lifespan. Also, inspect your gutters, vents, and flashing for any dents or dings, which are classic signs of hail damage.
Check for Damage Inside Your Home
Roof damage isn’t always visible from the outside. That’s why your next step should be to head indoors and look for signs of leaks. Carefully check the ceilings and walls in your top-floor rooms, especially in the corners and around light fixtures or ceiling fans. Look for any discoloration, water stains, or peeling paint. If you can safely access your attic, grab a flashlight and look for damp insulation, water drips, or beams of light coming through the roof. A musty odor in the attic is another red flag that moisture has gotten in where it shouldn’t be.
Know When to Call a Professional
While your own inspection is a great starting point, it’s not a substitute for a professional assessment. A trained roofer knows exactly what to look for and can spot subtle damage you might miss. For example, hail can create small, hard-to-see bruises on shingles that compromise their integrity and will lead to leaks over time. A professional hail damage inspection can identify these issues before they become major headaches. Getting an expert opinion ensures you understand the full extent of the damage and can make informed decisions about repairs.
Document Everything with Photos and Notes
Before you move or repair anything, document all the damage you find. Use your phone to take clear photos and videos of everything, both inside and out. Get wide shots of the roof and close-ups of specific problem areas like missing shingles or dented gutters. Inside, photograph any water stains or active leaks. It’s also helpful to jot down some notes with the date of the storm and a description of the damage you observed. This evidence is incredibly valuable when you file an insurance claim and will help the process go much more smoothly. Having this documentation makes it easier to get the roof claim assistance you need.
How to Choose the Right Roofing Contractor
After a storm, your priority is getting your home secured and repaired. But finding the right person for the job can feel overwhelming, especially when you’re stressed. Choosing a reliable roofing contractor is the single most important step you can take to protect your home and ensure a quality, long-lasting repair. A great roofer will not only fix the damage but also guide you through the process, making it as smooth as possible. Think of it as finding a partner to help you restore your peace of mind. Taking a little time to vet your options now will save you from major headaches and costly mistakes down the road.
Verify Licenses, Insurance, and Certifications
Before you let anyone on your roof, make sure they are properly credentialed. In Florida, a roofing contractor must have a state license, so always ask for their license number and verify it. Just as important is insurance—confirm they carry both general liability and worker’s compensation. This protects you from any liability if an accident happens on your property.
Beyond the basics, look for manufacturer certifications. These show that a contractor has received specialized training directly from the makers of the roofing materials they install. A certified roofer is up-to-date on the best installation practices, which often means you get a better warranty on your residential roofing project.
Look for Storm Repair and Insurance Claim Experience
Not all roofing contractors are experts in storm damage. You need a team that specializes in identifying and repairing damage from wind and hail. An experienced storm repair contractor knows the subtle signs of damage that can be easily missed, ensuring a thorough inspection and a comprehensive repair plan. This experience is one of the most important factors when choosing a roofer after a storm.
Equally important is their experience with the insurance claim process. A contractor who regularly works with insurance companies can be an invaluable asset. They understand the documentation adjusters need and can help ensure your claim is accurate and complete. This kind of roof claim assistance simplifies a complicated process, helping you get the coverage you’re entitled to without the extra stress.
Always Get a Written Estimate
Never move forward with a roofing project without a detailed, written estimate. This document should be more than just a number on a piece of paper; it should clearly outline the entire scope of the project. Look for an itemized breakdown of costs for labor and materials, the specific products that will be used, a projected timeline for completion, and the payment schedule.
While it’s tempting to go with the lowest bid, focus on the overall value and the contractor’s reputation for quality work. A vague or confusing estimate is a red flag. A professional company will provide a clear, transparent quote and be happy to walk you through it. They may also offer convenient financing options to help manage the cost of unexpected repairs.
Watch Out for These Contractor Red Flags
Unfortunately, a major storm can bring out “storm chasers”—unscrupulous contractors looking to make a quick buck. Be on the lookout for some common red flags. Be wary of anyone who shows up uninvited, uses high-pressure sales tactics, or asks for a large cash deposit upfront before any work begins. A reputable contractor will never pressure you into signing a contract on the spot.
Other warning signs include a lack of a physical business address, unmarked vehicles, or an inability to provide local references. Clear communication is a hallmark of a professional, so if you’re having trouble getting straight answers, it’s best to move on. Trust your gut—if something feels off, it probably is.
Filing Your Roof Damage Insurance Claim: A Step-by-Step Guide
Dealing with roof damage is stressful enough without adding a complicated insurance claim to the mix. The process can feel intimidating, but breaking it down into simple, actionable steps makes it much more manageable. Your goal is to get the coverage you’re entitled to so you can restore your home’s safety and integrity. The key is to be prepared, organized, and proactive from the moment you suspect damage.
Working with a trusted local roofer can make a world of difference. A professional can not only identify all the damage—even the parts you can’t see from the ground—but also provide the detailed documentation your insurance company will need. With the right partner and a clear plan, you can handle the claims process with confidence. This guide will walk you through exactly what to do, what to avoid, and how to understand your policy.
Your First Steps After the Storm
Once the storm has passed and it’s safe to go outside, your first priority is to assess the situation. Walk around your property and look for obvious signs of damage like missing shingles, large dents, or fallen tree limbs on your roof. Take photos of everything you see from the ground. If you notice active leaks or significant damage, it’s time to call for professional help to prevent further issues.
Before you even call your insurance company, it’s a good idea to schedule a professional hail damage inspection. A qualified roofer can give you an honest assessment of the damage and a detailed report. This expert evaluation is crucial evidence for your claim and helps ensure nothing is overlooked. If immediate protection is needed, we can also provide emergency tarping to keep your home dry while you start the claims process.
Work with Your Adjuster and Keep Good Records
Documentation is your best friend during an insurance claim. Before any work begins, take clear photos and videos of your roof from every angle, capturing any visible damage. Keep a dedicated folder for all storm-related paperwork, including your roofer’s inspection report, estimates, and any receipts for temporary repairs. It’s also helpful to keep records of past roof maintenance, as this shows your roof was in good condition before the storm.
When you file your claim, do it as soon as possible, since most policies have deadlines. You’ll be assigned an insurance adjuster who will inspect the damage. Be present for this inspection along with your roofer, who can point out specific issues and advocate on your behalf. Keep a log of every conversation with your insurance company, noting the date, time, and who you spoke with. Having a clear paper trail makes the process smoother and helps our team provide expert roof claim assistance.
Avoid These Common Claim Mistakes
A few simple missteps can unfortunately lead to a denied claim or a lower payout than you deserve. One of the most common mistakes is waiting too long to file. Insurance policies have strict timelines, so don’t delay. Another issue is incomplete documentation—if you can’t prove the damage was caused by the storm, your insurer may push back.
Also, be wary of “storm chasers.” These are out-of-town contractors who show up after a storm, promise a new roof, and pressure you into signing documents. They often perform shoddy work and disappear, leaving you with bigger problems. Never sign anything that gives a contractor control over your insurance claim. Always work with a licensed, insured, and local roofing company with a proven track record in the community.
What’s the Difference? ACV vs. RCV Policies
Understanding your insurance policy is key to knowing what to expect from your settlement. Most homeowners policies fall into two categories: Actual Cash Value (ACV) and Replacement Cost Value (RCV). An ACV policy pays for the current value of your damaged roof, which means it accounts for depreciation. In simple terms, it pays you what your used roof was worth right before the storm.
An RCV policy, on the other hand, covers the full cost of replacing your damaged roof with a new one of similar quality, without deducting for depreciation. With an RCV policy, you’ll typically receive an initial payment for the ACV, and the remaining amount (the depreciation) is paid once the replacement is complete and you’ve submitted the final invoice. Knowing which policy you have helps you budget for your deductible and any potential out-of-pocket costs.
What to Expect for Repair Costs and Emergency Service
After a storm, one of the first questions on your mind is probably, “How much is this going to cost?” The answer isn’t always straightforward, but understanding the factors involved can help you prepare for the road ahead. Let’s break down what to expect when it comes to repair costs and emergency services so you can feel more in control.
What Influences the Cost of Roof Repair?
The cost of repairing storm damage can vary widely, from a couple of thousand dollars to well over $20,000. The final price tag depends on a few key things. The biggest factors are the extent of the damage—are we talking a few missing shingles or a major structural issue?—and the type of roofing material on your home. For example, repairing a slate or tile roof will typically cost more than fixing standard asphalt shingles. Your location in Central Florida also plays a role in labor and material costs. A professional inspection is the only way to get a precise quote for your specific situation.
Emergency Tarping vs. a Full Replacement
In the immediate aftermath of a storm, your priority is to stop any more water from getting into your home. This is where emergency tarping comes in. It’s a temporary but crucial fix that protects your home while you arrange for a permanent repair. These initial emergency service calls can cost a few thousand dollars, but they prevent much costlier interior damage from leaks. A full replacement, on the other hand, is the long-term solution for extensive damage. It’s a much larger project, but it restores the integrity and safety of your roof for years to come.
When to Make an Emergency Repair Call
If you see any signs of roof damage after a storm, don’t wait. Water can travel fast, and a small leak can quickly lead to saturated insulation, damaged drywall, and even mold growth. The sooner you call for an emergency roof repair, the better your chances of containing the problem and keeping overall costs down. Even if the damage looks minor from the ground, there could be underlying issues you can’t see. Getting a professional on-site quickly to assess the situation and apply a temporary fix is the smartest first step you can take to protect your home.
Explore Your Financing Options
Facing an unexpected roof repair bill is stressful, but you don’t have to handle it alone. Many homeowners use their insurance to cover the costs, and getting professional roof claim assistance can make the process much smoother. A good contractor can provide detailed documentation for your claim and help you understand your policy. If you need help paying your deductible or find that your policy doesn’t cover the full amount, look into financing options. Many roofing companies offer payment plans to make the expense more manageable, so you can get your roof fixed without draining your savings.
Protect Your Roof From the Next Storm
Living in Central Florida means enjoying beautiful weather, but it also means preparing for storm season. Instead of waiting for damage to happen, you can take proactive steps to strengthen your roof. A little preparation goes a long way in protecting your home and giving you peace of mind when the weather turns. By focusing on strong materials, consistent upkeep, and having a plan, you can significantly reduce the risk of storm damage.
Choose Storm-Resistant Roofing Materials
One of the best long-term strategies for protecting your home is to invest in the right materials. If your roof is nearing the end of its life, consider upgrading to impact-resistant shingles or a stronger underlayment. These modern residential roofing options are specifically designed to handle high winds and flying debris. For exceptional durability, metal shingles are a fantastic choice. They are known for their strength and can often withstand wind speeds of up to 140 mph, offering superior protection against the intense storms we can experience in Florida.
How Regular Maintenance Protects Your Roof
Think of roof maintenance like a regular health check-up for your home. Scheduling routine inspections allows a professional to spot and fix small issues, like a loose shingle or a cracked seal, before a storm turns them into major leaks. Consistent upkeep is not just about preventing damage; it can also be crucial for your insurance coverage. Many insurance policies can deny a claim if the damage is due to neglect. A simple maintenance plan helps ensure your roof is always in top condition and that your insurance claim is approved if you ever need to file one.
Quick Fixes to Prevent More Damage
If a storm does cause damage, taking immediate action can stop the problem from getting worse. As soon as it’s safe, take photos of any visible damage from the ground to document the initial impact for your insurance claim. If you notice active leaks, use buckets to catch the water and prevent interior damage. For more serious issues like large holes or significant water intrusion, calling for emergency roof repair is your next step. A professional can quickly place a tarp over the damaged area to keep your home dry while you arrange for permanent repairs.
Find a Roofer You Can Trust Before the Storm Hits
The worst time to look for a roofer is right after a major storm when you’re stressed and contractors are in high demand. Do your research ahead of time to find a reliable, local company. Look for a contractor with at least five years of experience and verify they have the proper licenses and insurance. Manufacturer certifications are also a great sign, as they show the roofer has been trained to install specific materials correctly. Having a trusted professional’s number on hand means you can get help quickly and confidently, especially when you need roof claim assistance.
Related Articles
- Storm Damage Roof Inspection: A Complete Guide
- Wind Damage to Roof Insurance Coverage Explained
- Shingles Blown Off Roof Insurance: Are You Covered?
- Hail Damage Roof Insurance Claim Guide | Sky Light Roofing
- How to Check for Hail Damage on a Roof in 5 Steps
Frequently Asked Questions
What’s the very first thing I should do if I see a leak after a storm? Your first priority is to minimize interior damage. Place a bucket or towels under the drip to protect your floors and furniture. Then, if you can do so safely, take a quick photo of the leak and any visible water stains on your ceiling. Your next call should be to a professional for emergency service. They can quickly get a tarp on your roof to prevent more water from getting in while you figure out the next steps for a permanent repair.
My roof doesn’t look that bad from the ground. Do I still need a professional inspection? Yes, it’s always a good idea. Much of the most significant storm damage is subtle and nearly impossible to spot from the ground. Hail can create small bruises that strip away protective granules, and high winds can lift shingles and break their watertight seal without tearing them off completely. A trained inspector knows how to identify these issues that, if left unaddressed, can lead to serious leaks down the road.
Will my insurance company pay for a whole new roof? Whether your insurance covers a full replacement depends on the extent of the damage and the specifics of your policy. If an inspection shows widespread damage that compromises the entire roofing system, a replacement is often justified. Your policy type, such as Replacement Cost Value (RCV) versus Actual Cash Value (ACV), will also determine the amount of your settlement. A thorough, well-documented inspection from a trusted roofer is the best tool you have for supporting your claim for a full replacement.
How can I tell a good roofer from a “storm chaser”? A reputable local contractor will have a permanent business address, proper licensing and insurance, and a long history in the community. Be cautious of anyone who shows up at your door uninvited, uses high-pressure tactics to get you to sign a contract immediately, or asks for a large cash payment upfront. A trustworthy professional will provide a detailed written estimate and will never pressure you into a decision.
How often should I have my roof checked to prevent future storm damage? A great rule of thumb is to have your roof professionally inspected once a year, ideally before storm season begins. It’s also smart to schedule an inspection after any major weather event, even if you don’t see any obvious problems. This regular maintenance allows you to catch and fix small issues, like a loose shingle or cracked flashing, before the next big storm has a chance to turn them into a major headache.